Just like a clean home, a tidy and organized computer is what we all need. It helps in quickly performing the work by easily accessing the files, folders, or notes we require. An untidy desktop not just looks unorganized but creates problems in finding items you need.
So, if you don’t want any obstacles to come into your work, keep your desktop organized and clean. Not familiar with Mac desktop organizer and how to get started with it? Let’s learn what changes you can make to organize your computer’s desktop for maximum efficiency.
1. Remove Redundant Files

Yes, item arrangement is necessary to tidy up your Mac desktop. You also need to ensure your desktop doesn’t have useless items you no longer need. So, determine how many files on the desktop are unnecessary and which one you use the most often.
Examine what you can delete and what needs to move to the corresponding folder. Delete the outdated and temporary files. When deleting files, take note of the hidden files and apps too. You can learn how to hide apps on MacBook desktop as well.
In addition to feeling like the clutter is weighing you down due to its sheer volume, you will also benefit from other aspects.
For one, it is much easier to navigate through the desktop and find exactly what you need when you do not encounter unnecessary obstacles.
Another benefit is the fact that you can enjoy a better overall MacBook performance. It might not seem like a significant deal, but fewer redundant files make a difference. When the computer’s operating system does not have to dedicate its resources to processing useless data, it performs much smoother.
2. Modify the Size and Space
Changing the grid spacing and font or icon size makes the item easily move to the area you want them. For these modifications, tap on View and select Show View Options. Or right-click on the desktop and then select Show View Options.
Here, you can make several changes, such as Grid spacing, label position, icon size, and text size. Using these options, you can show your Mac desktop the way you would like it to be. After making the required changes, quit the Show View Options window.
It might take a while to find the perfect setup for yourself, but the effort is worthwhile because you want to have an optimal experience on your computer, right?
3. Declutter Using Mac Stacks

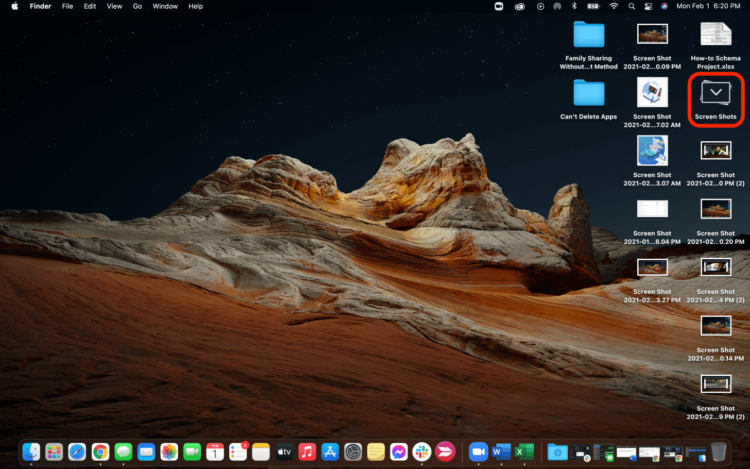
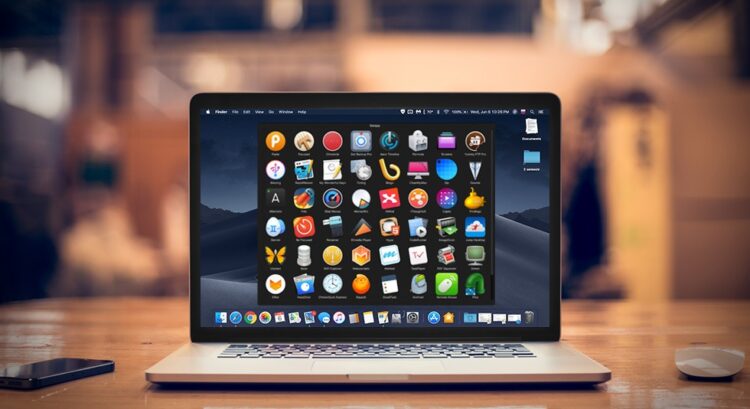
If there is a huge quantity of things you need to organize on your Mac desktop, use the Stacks feature. This feature is available in the new macOS Mojave to organize different files categorically. It manages and arranges the desktop via intelligent folders.
For example, all images will be organized in the pictures category. It can clean your desktop at a great level by automatically moving similar items into the corresponding Stack. You will find a complete tutorial on how to use Stacks on Mac online.
4. Arrange Desktop Items
If you don’t want to use the Mac Stacks feature, sort the desktop items in another way. Tap on the View button and click Sort By. Now, select an option. Right-click on the desktop and choose an option for Sort By.
Or, right-click the desktop and select Show View Options. Pick a Sort By option from the drop-down menu. You can pick from 8 different sorting options, such as size, date, name, tags, and kind, based on your needs.
Depending how many desktop items your computer has, arranging them might take a while. In some cases, you might even struggle to come up with an arrangement system that makes actual sense. If you have and can eliminate certain items to create a better desktop environment, you will need to do that.
5. See More Item Details

Another valuable tip for cleaning your desktop on Mac is to show more details for items. You can see the image dimensions, file size, and how many items you have in a specific folder. Access the Show View Options window to see what you want.
To open this window, click on the View button. Now, hit Show View Options in the menu bar. Alternatively, right-click your Mac desktop and pick Show View Options. Tick the checkbox next to Show item info. Click the Show icon preview to preview the item.
By familiarizing yourself with different item details, you will have an easier time deciding how to manage them, so do not shy away from checking this feature.
6. Access Arranged Item with Spotlight
After you have cleaned your Mac desktop, every item should be easily and quickly accessed. Use Spotlight to quickly find what you have on your Mac device. Having faster access is much easier as what you have to do is press the Command and Space keys.
Type the item name or content you want to find and select from the suggestions. No item gets lost with the use of Spotlight. For more advanced tips on cleaning your Mac desktop, you can use trusted apps from the Setapp collection.
7. Use Third-Party Organizer Apps

There are many other ways to sort the folders by size, type, name, date created, and other options. But those methods will help you in just arranging and seeing the items. You can’t automate these processes. You have to do that manually.
You can do advanced setups of moving the documents accordingly and deleting the files automatically. You can arrange, transfer, and access things as per your preferences using third-party Mac desktop organizer apps.
Conclusion
There are numerous methods and apps to clean your Mac desktop and keep it well-organized. If you need any smart desktop organizer app, use Declutter, Unclutter, Spotless, or Magnet based on your specific preferences.
Remember that staying organized will eventually help you in staying more productive and working effectively. So, develop good tidy habits and keep files, folders, and documents in the category they belong. Doing all of that should be enough to ensure that you have a positive experience using your MacBook’s desktop.


