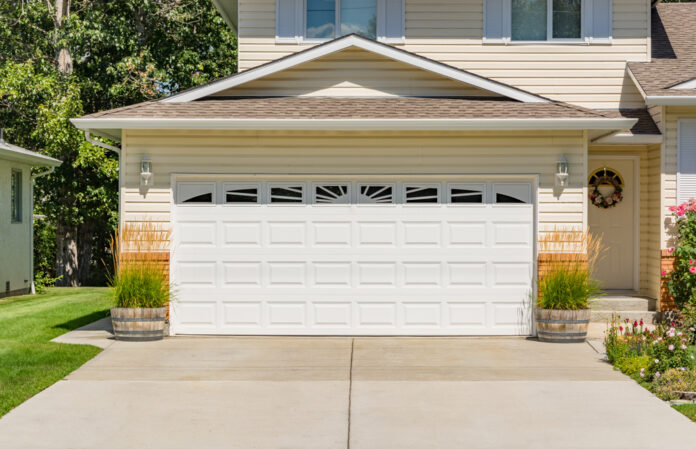
A garage door consists of two integral parts: the opener and the door itself. If either of these components gets damaged or stops working properly, it can lead to an unsafe situation. In such a situation, you should plan a repair as soon as possible. To fix your garage door in a safe and effective way, you will need to figure out which part is broken. A malfunctioning opener could be due to a faulty circuit board, worn-out motor, or bad wiring.
The door itself can become damaged due to wear and tear or if objects like toys or tools are wedged underneath it. Once you know where the problem is coming from, you will need to get the parts you need to fix it. Depending on the issue at hand, these might include lubricants such as WD-40, a screwdriver set, replacement parts for the opener, or even a new door.
If the problem isn’t too big and you’re sure you can fix it yourself, you can start by following the steps in your owner’s manual. If the problem is more complex or dangerous, it might be best to call a garage door repair technician from Fix Garage Doors CA to get help.
Regardless of which route you choose, it is essential that you make safety a priority. Before making any repairs, make sure to unplug the door opener and wear gloves and goggles when working with tools or oil-based products. Taking these precautions will help ensure that your repair goes as smoothly as possible and that you remain safe throughout the process.
Repairing a Garage Door
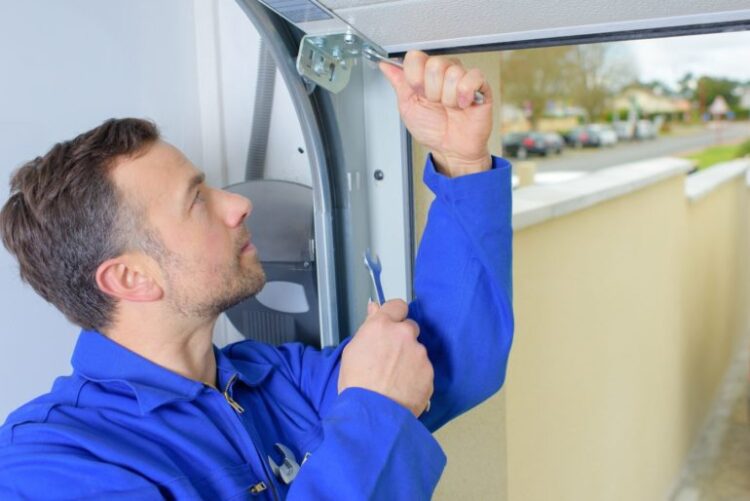
Whether swinging up in one piece or rolling up in sections, overhead garage doors are powered by spring tension. The door moves on metal tracks at the garage corners. It is important to understand how a garage door works in order to troubleshoot and repair it properly when something goes wrong.
- Check the power supply: First, check that you have electricity running to your garage door opener motor. If not, try resetting the circuit breaker or fuse.
- Inspect the tracks: Visually inspect each of the tracks to make sure they’re properly aligned and free of debris. If there is any damage, it should be repaired or replaced before continuing with any further repairs.
- Clean and lubricate: With a soft cloth and some WD-40, you can clean and lubricate the metal tracks in your garage. This will help keep any dirt or dust buildup from interfering with the operation of your door.
- Test the sensors: If your garage door isn’t opening and closing correctly, it might be due to an issue with the safety sensors at either side of the door. Make sure they are not blocked or misaligned.
- Repair the springs: Garage door springs are the parts that lift and lower your door with ease. If you notice them becoming weak or damaged, you will need to replace them as soon as possible.
- Replace the opener: The last step is to replace the garage door opener motor if necessary. This is a more complicated repair and should be done by a professional if you are not comfortable attempting it yourself.
By following these steps, you can diagnose and repair your garage door so it returns to working order as soon as possible.
Replacing a Garage Door Opener
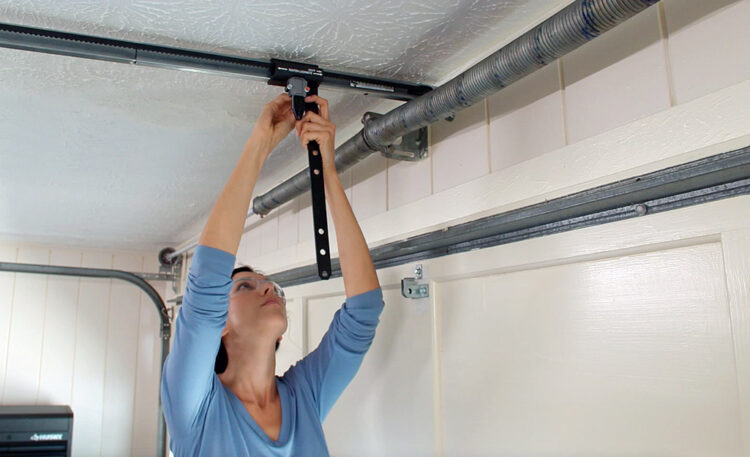
If you notice that your garage door opener is no longer functioning properly, it might be time to replace it. A faulty opener can cause a variety of issues, including the door not opening or closing correctly and coming off its tracks. If this happens, you will need to replace the opener as soon as possible in order to ensure safety and reliability.
- Choose the opener: The first step is to decide which type of opener you want to install. Options include chain drive, belt drive, and direct drive models.
- Assemble the mounting unit: Attach the mounting unit that came with your new garage door opener in accordance with the instructions provided. This will usually involve connecting a few pieces of metal to the ceiling of your garage.
- Install the opener: Once the mounting unit is in place, you can then install the actual opener by attaching it to the motor assembly and securing it with screws.
- Connect the power supply: Plug your new opener into an available outlet, making sure that all of the wires are securely connected. If you choose a model with an automatic light, make sure to also connect that to the power supply.
Safety Considerations
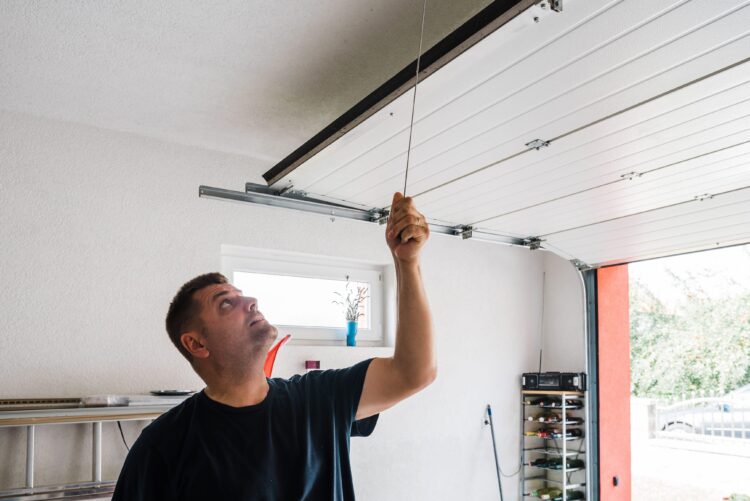
Before beginning a garage door repair, it is important to take certain safety precautions. Be sure to:
- Put on protective gloves and glasses before working with any tools.
- Shut off the power – in order to avoid accidently triggering the door while repairing.
- Also make sure that all people, including anyone helping you with the repair, keep a safe distance from the working area of the garage door at all times.
Check for objects or obstructions above or around the tracks of your garage door before starting any type of maintenance work. If there are any objects that may be obstructing the movement of your garage door, remove them before proceeding with repairs.
Also make sure to inspect each component of your garage door setup before you proceed with repairs. Any loose hardware or parts should be tightened in order to ensure that everything remains secure during usage. Be sure to also check the tension springs for signs of wear and tear and replace them if necessary. Finally, make sure that nothing is in contact with any live electrical wires as this can result in an electric shock if handled without care!
Conclusion
It is important to take the necessary safety measures when repairing a garage door, no matter the size of the job. Always remember to keep your tools and materials up to date, as outdated ones can make your job more difficult or even cause harm.

